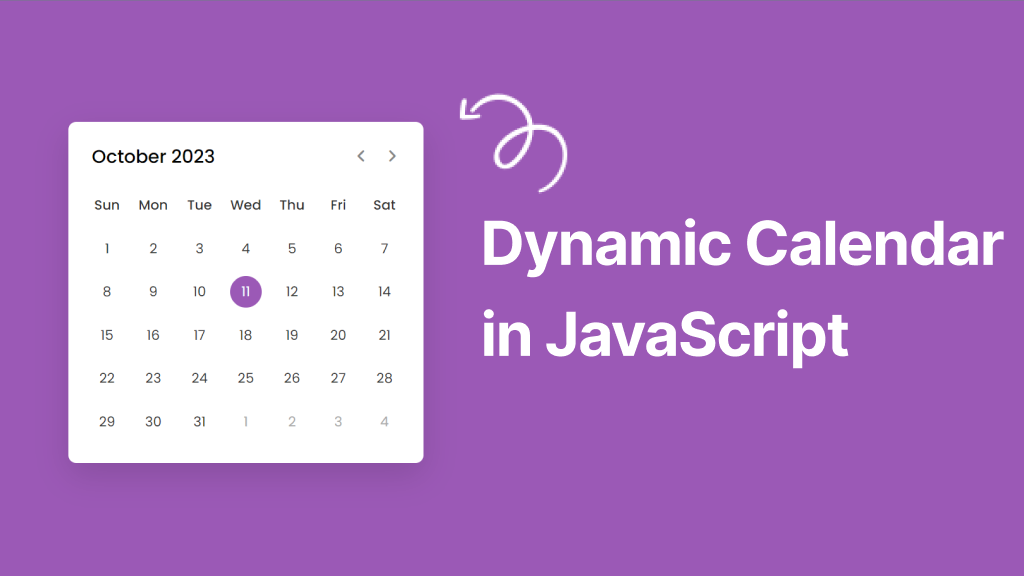
Create A Dynamic Calendar in HTML CSS & JavaScript
by Letscode - October 4,2023
Hey friends, today in this blog, you’ll learn to create a new beginner-level project, Dynamic Calendar in HTML CSS & JavaScript. If you want more JavaScript projects like this, you can check out the Best Beginners to Intermediate JavaScript Projects List.
As you all know, a calendar is a chart that shows the day, weeks, and months of a particular year. Calendars also help you to remind important events, such as holidays and festivals.
In my dynamic calendar, users can see the current date and day. They can also see the days of the present, past, or future month using the previous and next icons. These all are done with Vanilla JavaScript which means no external library is used to create this calendar. you will also help to enhance your web development skills.
Dynamic Calendar in JavaScript [Source Codes]
To create a Dynamic Calendar App using HTML CSS & JavaScript, follow the given steps line by line:
- Create a folder. You can put any name of this folder and create the below-mentioned files inside this folder.
- Create a index.html file. File name must be index and its extension .html
- Create a style.css file. File name must be style and its extension .css
- Create a script.js file. File name must be script and its extension .js
Once you create these files, paste the given codes into the specified files. If you don’t want to do these then scroll down and download the source codes of this Calendar App by clicking on the given download button.
<!DOCTYPE html>
<!-- Coding By Letscodeweb - youtube.com/@Letscodeweb -->
<html lang="en" dir="ltr">

<head>
    <meta charset="utf-8">
    <title>Dynamic Calendar JavaScript | Letscodeweb</title>
    <link rel="stylesheet" href="style.css">
    <meta name="viewport" content="width=device-width, initial-scale=1.0">
    <!-- Google Font Link for Icons -->
    <link rel="stylesheet"
        href="https://fonts.googleapis.com/css2?family=Material+Symbols+Rounded:opsz,wght,FILL,GRAD@20..48,100..700,0..1,-50..200">
    <script src="script.js" defer></script>
</head>

<body>
    <div class="wrapper">
        <header>
            <p class="current-date"></p>
            <div class="icons">
                <span id="prev" class="material-symbols-rounded">chevron_left</span>
                <span id="next" class="material-symbols-rounded">chevron_right</span>
            </div>
        </header>
        <div class="calendar">
            <ul class="weeks">
                <li>Sun</li>
                <li>Mon</li>
                <li>Tue</li>
                <li>Wed</li>
                <li>Thu</li>
                <li>Fri</li>
                <li>Sat</li>
            </ul>
            <ul class="days"></ul>
        </div>
    </div>

</body>

</html>
Second, paste the following codes into your style.css file.
/* Import Google font - Poppins */
@import url('https://fonts.googleapis.com/css2?family=Poppins:wght@400;500;600&display=swap');
*{
margin: 0;
padding: 0;
box-sizing: border-box;
font-family: 'Poppins', sans-serif;
}
body{
display: flex;
align-items: center;
padding: 0 10px;
justify-content: center;
min-height: 100vh;
background: #9B59B6;
}
.wrapper{
width: 450px;
background: #fff;
border-radius: 10px;
box-shadow: 0 15px 40px rgba(0,0,0,0.12);
}
.wrapper header{
display: flex;
align-items: center;
padding: 25px 30px 10px;
justify-content: space-between;
}
header .icons{
display: flex;
}
header .icons span{
height: 38px;
width: 38px;
margin: 0 1px;
cursor: pointer;
color: #878787;
text-align: center;
line-height: 38px;
font-size: 1.9rem;
user-select: none;
border-radius: 50%;
}
.icons span:last-child{
margin-right: -10px;
}
header .icons span:hover{
background: #f2f2f2;
}
header .current-date{
font-size: 1.45rem;
font-weight: 500;
}
.calendar{
padding: 20px;
}
.calendar ul{
display: flex;
flex-wrap: wrap;
list-style: none;
text-align: center;
}
.calendar .days{
margin-bottom: 20px;
}
.calendar li{
color: #333;
width: calc(100% / 7);
font-size: 1.07rem;
}
.calendar .weeks li{
font-weight: 500;
cursor: default;
}
.calendar .days li{
z-index: 1;
cursor: pointer;
position: relative;
margin-top: 30px;
}
.days li.inactive{
color: #aaa;
}
.days li.active{
color: #fff;
}
.days li::before{
position: absolute;
content: "";
left: 50%;
top: 50%;
height: 40px;
width: 40px;
z-index: -1;
border-radius: 50%;
transform: translate(-50%, -50%);
}
.days li.active::before{
background: #9B59B6;
}
.days li:not(.active):hover::before{
background: #f2f2f2;
}
Third, paste the following codes into your script.js file.
const daysTag = document.querySelector(".days"),
currentDate = document.querySelector(".current-date"),
prevNextIcon = document.querySelectorAll(".icons span");
// getting new date, current year and month
let date = new Date(),
currYear = date.getFullYear(),
currMonth = date.getMonth();
// storing full name of all months in array
const months = ["January", "February", "March", "April", "May", "June", "July",
"August", "September", "October", "November", "December"];
const renderCalendar = () => {
let firstDayofMonth = new Date(currYear, currMonth, 1).getDay(), // getting first day of month
lastDateofMonth = new Date(currYear, currMonth + 1, 0).getDate(), // getting last date of month
lastDayofMonth = new Date(currYear, currMonth, lastDateofMonth).getDay(), // getting last day of month
lastDateofLastMonth = new Date(currYear, currMonth, 0).getDate(); // getting last date of previous month
let liTag = "";
for (let i = firstDayofMonth; i > 0; i--) { // creating li of previous month last days
liTag += `${lastDateofLastMonth - i + 1} `;
}
for (let i = 1; i <= lastDateofMonth; i++) { // creating li of all days of current month
// adding active class to li if the current day, month, and year matched
let isToday = i === date.getDate() && currMonth === new Date().getMonth()
&& currYear === new Date().getFullYear() ? "active" : "";
liTag += `${i} `;
}
for (let i = lastDayofMonth; i < 6; i++) { // creating li of next month first days
liTag += `${i - lastDayofMonth + 1} `
}
currentDate.innerText = `${months[currMonth]} ${currYear}`; // passing current mon and yr as currentDate text
daysTag.innerHTML = liTag;
}
renderCalendar();
prevNextIcon.forEach(icon => { // getting prev and next icons
icon.addEventListener("click", () => { // adding click event on both icons
// if clicked icon is previous icon then decrement current month by 1 else increment it by 1
currMonth = icon.id === "prev" ? currMonth - 1 : currMonth + 1;
if(currMonth < 0 || currMonth > 11) { // if current month is less than 0 or greater than 11
// creating a new date of current year & month and pass it as date value
date = new Date(currYear, currMonth, new Date().getDate());
currYear = date.getFullYear(); // updating current year with new date year
currMonth = date.getMonth(); // updating current month with new date month
} else {
date = new Date(); // pass the current date as date value
}
renderCalendar(); // calling renderCalendar function
});
});
That’s all, now you’ve successfully created a Dynamic Calendar. If you face any difficulties while creating your Dynamic Calendar or your code is not working as expected, you can download the source code files for this calculator for free by clicking on the download button.

Most Popular


Recent Posts
-

Image Slider in HTML CSS and JavaScript
Letscode - October 4,2023
-

Facebook Login Page Using HTML & CSS
Letscode - October 10,2023
-

Amazon Website clone in HTML & CSS
Letscode - November 4,2023
-

Custom Captcha Generator in HTML CSS and JS
Letscode - October 24,2023