Pagination UI Design using HTML CSS & JavaScript
by Letscode - October 4,2023
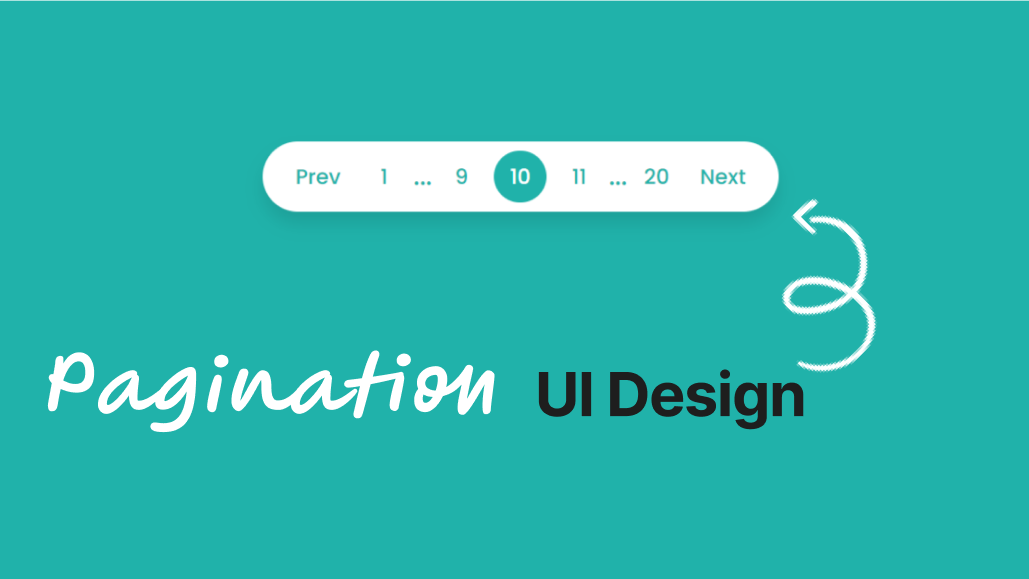
Hey friends, today in this blog you’ll learn how to create a Fully Functional Pagination UI Design using HTML CSS & JavaScript. In the earlier blog, I’ve also shared many pagination designs but these paginations are not functional and these were created only for design purposes. Now I’m going to create a fully functional and easy to navigate pagination in JavaScript.
You may know, Pagination is a method or process of dividing the web pages, or a section of content into discrete/many pages. Pagination plays an important role in the SEO (Search Engine Optimization) of your website and it is also important and most used in web design.
Pagination UI Design in JavaScript [Source Codes]
To create this program [Pagination UI Design]. First, you need to create three files, HTML File, CSS File, and JavaScript File. After creating these files just paste the following codes into your files. You can also download the source code files of the pagination design from the given download button.
First, create an HTML file with the name of index.html and paste the given codes in your HTML file. Remember, you’ve to create a file with .html extension.
<!DOCTYPE html>
<!-- Coding By Letscodeweb - youtube.com/@Letscodeweb -->
<html lang="en">

<head>
  <meta charset="UTF-8">
  <meta name="viewport" content="width=device-width, initial-scale=1.0">
  <title>Pagination in JavaScript | Letscodeweb</title>
  <link rel="stylesheet" href="style.css">
  <script src="https://kit.fontawesome.com/a076d05399.js"></script>
</head>

<body>
  <div class="pagination">
    <ul> <!--pages or li are comes from javascript --> </ul>
  </div>

  <script src="script.js"></script>

</body>

</html>
Second, paste the following codes into your style.css file.
@import url('https://fonts.googleapis.com/css2?family=Poppins:wght@200;300;400;500;600;700&display=swap');

* {
  margin: 0;
  padding: 0;
  box-sizing: border-box;
  font-family: 'Poppins', sans-serif;
}

body {
  display: flex;
  align-items: center;
  justify-content: center;
  background: #20B2AA;
  min-height: 100vh;
  padding: 10px;
}

.pagination ul {
  width: 100%;
  display: flex;
  flex-wrap: wrap;
  background: #fff;
  padding: 8px;
  border-radius: 50px;
  box-shadow: 0px 10px 15px rgba(0, 0, 0, 0.1);
}

.pagination ul li {
  color: #20B2AA;
  list-style: none;
  line-height: 45px;
  text-align: center;
  font-size: 18px;
  font-weight: 500;
  cursor: pointer;
  user-select: none;
  transition: all 0.3s ease;
}

.pagination ul li.numb {
  list-style: none;
  height: 45px;
  width: 45px;
  margin: 0 3px;
  line-height: 45px;
  border-radius: 50%;
}

.pagination ul li.numb.first {
  margin: 0px 3px 0 -5px;
}

.pagination ul li.numb.last {
  margin: 0px -5px 0 3px;
}

.pagination ul li.dots {
  font-size: 22px;
  cursor: default;
}

.pagination ul li.btn {
  padding: 0 20px;
  border-radius: 50px;
}

.pagination li.active,
.pagination ul li.numb:hover,
.pagination ul li:first-child:hover,
.pagination ul li:last-child:hover {
  color: #fff;
  background: #20B2AA;
}
Third, paste the following codes into your script.js file.
// selecting required element
const element = document.querySelector(".pagination ul");
let totalPages = 20;
let page = 10;
//calling function with passing parameters and adding inside element which is ul tag
element.innerHTML = createPagination(totalPages, page);
function createPagination(totalPages, page) {
let liTag = '';
let active;
let beforePage = page - 1;
let afterPage = page + 1;
if (page > 1) { //show the next button if the page value is greater than 1
liTag += ` Prev `;
}
if (page > 2) { //if page value is less than 2 then add 1 after the previous button
liTag += `1 `;
if (page > 3) { //if page value is greater than 3 then add this (...) after the first li or page
liTag += `... `;
}
}
// how many pages or li show before the current li
if (page == totalPages) {
beforePage = beforePage - 2;
} else if (page == totalPages - 1) {
beforePage = beforePage - 1;
}
// how many pages or li show after the current li
if (page == 1) {
afterPage = afterPage + 2;
} else if (page == 2) {
afterPage = afterPage + 1;
}
for (var plength = beforePage; plength <= afterPage; plength++) {
if (plength > totalPages) { //if plength is greater than totalPage length then continue
continue;
}
if (plength == 0) { //if plength is 0 than add +1 in plength value
plength = plength + 1;
}
if (page == plength) { //if page is equal to plength than assign active string in the active variable
active = "active";
} else { //else leave empty to the active variable
active = "";
}
liTag += `<li class="numb ${active}" onclick="createPagination(totalPages, ${plength})"><span>${plength}</span></li>`;
}
if (page < totalPages - 1) { //if page value is less than totalPage value by -1 then show the last li or page
if (page < totalPages - 2) { //if page value is less than totalPage value by -2 then add this (...) before the last li or page
liTag += `<li class="dots"><span>...</span></li>`;
}
liTag += `<li class="last numb" onclick="createPagination(totalPages, ${totalPages})"><span>${totalPages}</span></li>`;
}
if (page < totalPages) { //show the next button if the page value is less than totalPage(20)
liTag += `<li class="btn next" onclick="createPagination(totalPages, ${page + 1})"><span>Next <i class="fas fa-angle-right"></i></span></li>`;
}
element.innerHTML = liTag; //add li tag inside ul tag
return liTag; //reurn the li tag
}
That’s all, now you’ve successfully created a Pagination UI Design using HTML CSS & JavaScript. If your code doesn’t work or you’ve faced any error/problem then please download the source code files from the given download button. It’s free and a .zip file will be downloaded then you’ve to extract it.

Most Popular


Recent Posts
-

Image Slider in HTML CSS and JavaScript
Letscode - October 4,2023
-

Facebook Login Page Using HTML & CSS
Letscode - October 10,2023
-

Amazon Website clone in HTML & CSS
Letscode - November 4,2023
-

Custom Captcha Generator in HTML CSS and JS
Letscode - October 24,2023