How to create Pagination in HTML CSS & JavaScript
by Letscode - October 4,2023
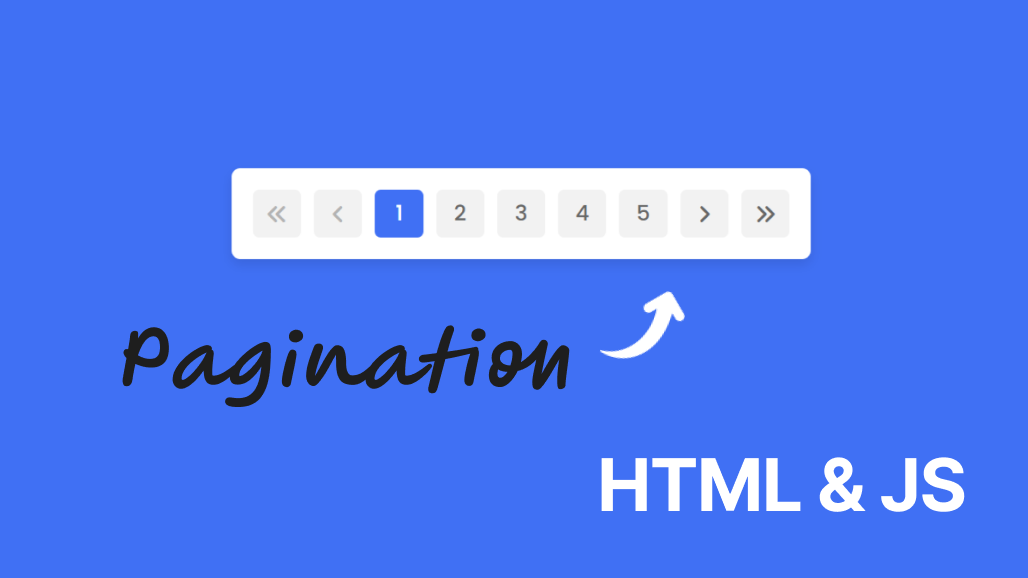
You may have seen at the end of the website that there is a pagination section that is used to jump to the next webpage of the website. Did you know we can create that pagination using HTML CSS & JavaScript?
Steps for creating Pagination in HTML CSS & JavaScript
To create a Pagination using HTML, CSS, and vanilla JavaScript, follow the given steps line by line:
- Create a folder. You can name this folder whatever you want, and inside this folder, create the mentioned files.
- Create an index.html file. The file name must be index and its extension .html
- Create a style.css file. The file name must be style and its extension .css
- Create a script.js file. The file name must be script and its extension .js
Once you create these files, paste the given codes into the specified files. If you don’t want to do these then scroll down and download all the source code files of the Rock-Paper-Scissors Game, by clicking on the given download button.
First, paste the following codes into your index.html file.
<!DOCTYPE html>
<!-- Coding by Letscodeweb -->
<html lang="en">

<head>
    <meta charset="UTF-8" />
    <meta http-equiv="X-UA-Compatible" content="IE=edge" />
    <meta name="viewport" content="width=device-width, initial-scale=1.0" />
    <title>Pagination in HTML CSS & JavaScript</title>
    <link rel="stylesheet" href="style.css" />
    <!-- Fontawesome CDN Link -->
    <link rel="stylesheet" href="https://cdnjs.cloudflare.com/ajax/libs/font-awesome/6.2.1/css/all.min.css" />
</head>

<body>
    <div class="container">
        <button class="button" id="startBtn" disabled>
            <i class="fa-solid fa-angles-left"></i>
        </button>
        <button class="button prevNext" id="prev" disabled>
            <i class="fa-solid fa-angle-left"></i>
        </button>

        <div class="links">
            <a href="#" class="link active">1</a>
            <a href="#" class="link">2</a>
            <a href="#" class="link">3</a>
            <a href="#" class="link">4</a>
            <a href="#" class="link">5</a>
        </div>

        <button class="button prevNext" id="next">
            <i class="fa-solid fa-angle-right"></i>
        </button>
        <button class="button" id="endBtn">
            <i class="fa-solid fa-angles-right"></i>
        </button>
    </div>

    <script src="script.js" defer></script>
</body>

</html>
Second, paste the following codes into your style.css file.
/* Import Google font - Poppins */
@import url("https://fonts.googleapis.com/css2?family=Poppins:wght@200;300;400;500;600;700&display=swap");

* {
  margin: 0;
  padding: 0;
  box-sizing: border-box;
  font-family: "Poppins", sans-serif;
}

body {
  height: 100vh;
  background: #4070f4;
}

body,
.container,
.button,
.links,
.link {
  display: flex;
  align-items: center;
  justify-content: center;
}

.container {
  padding: 20px;
  border-radius: 8px;
  column-gap: 12px;
  background: #fff;
  box-shadow: 0 5px 10px rgba(0, 0, 0, 0.1);
}

.button {
  border: none;
}

.button i {
  pointer-events: none;
}

.button:disabled {
  color: #b3b3b3;
  pointer-events: none;
}

.button,
.link {
  height: 45px;
  width: 45px;
  font-size: 20px;
  color: #666666;
  background-color: #f2f2f2;
  border-radius: 6px;
  cursor: pointer;
}

.links {
  column-gap: 12px;
}

.link {
  font-weight: 500;
  text-decoration: none;
}

.button:hover,
.link:hover {
  color: #fff;
  background: #4070f4;
}

.link.active {
  color: #fff;
  background: #4070f4;
}
Third, paste the following codes into your script.js file.
// Selecting DOM elements
const startBtn = document.querySelector("#startBtn"),
  endBtn = document.querySelector("#endBtn"),
  prevNext = document.querySelectorAll(".prevNext"),
  numbers = document.querySelectorAll(".link");

// Setting an initial step
let currentStep = 0;

// Function to update the button states
const updateBtn = () => {
  // If we are at the last step
  if (currentStep === 4) {
    endBtn.disabled = true;
    prevNext[1].disabled = true;
  } else if (currentStep === 0) {
    // If we are at the first step
    startBtn.disabled = true;
    prevNext[0].disabled = true;
  } else {
    endBtn.disabled = false;
    prevNext[1].disabled = false;
    startBtn.disabled = false;
    prevNext[0].disabled = false;
  }
};

// Add event listeners to the number links
numbers.forEach((number, numIndex) => {
  number.addEventListener("click", (e) => {
    e.preventDefault();
    // Set the current step to the clicked number link
    currentStep = numIndex;
    // Remove the "active" class from the previously active number link
    document.querySelector(".active").classList.remove("active");
    // Add the "active" class to the clicked number link
    number.classList.add("active");
    updateBtn(); // Update the button states
  });
});

// Add event listeners to the "Previous" and "Next" buttons
prevNext.forEach((button) => {
  button.addEventListener("click", (e) => {
    // Increment or decrement the current step based on the button clicked
    currentStep += e.target.id === "next" ? 1 : -1;
    numbers.forEach((number, numIndex) => {
      // Toggle the "active" class on the number links based on the current step
      number.classList.toggle("active", numIndex === currentStep);
      updateBtn(); // Update the button states
    });
  });
});

// Add event listener to the "Start" button
startBtn.addEventListener("click", () => {
  // Remove the "active" class from the previously active number link
  document.querySelector(".active").classList.remove("active");
  // Add the "active" class to the first number link
  numbers[0].classList.add("active");
  currentStep = 0;
  updateBtn(); // Update the button states
  endBtn.disabled = false;
  prevNext[1].disabled = false;
});

// Add event listener to the "End" button
endBtn.addEventListener("click", () => {
  // Remove the "active" class from the previously active number link
  document.querySelector(".active").classList.remove("active");
  // Add the "active" class to the last number link
  numbers[4].classList.add("active");
  currentStep = 4;
  updateBtn(); // Update the button states
  startBtn.disabled = false;
  prevNext[0].disabled = false;
});
That’s all, now you’ve successfully created a project on Pagination. If your code doesn’t work or you’ve faced any problems, please download the source code files from the given download button. It’s free and a zip file containing the project folder with source code files will be downloaded.

Most Popular


Recent Posts
-

Image Slider in HTML CSS and JavaScript
Letscode - October 4,2023
-

Facebook Login Page Using HTML & CSS
Letscode - October 10,2023
-

Amazon Website clone in HTML & CSS
Letscode - November 4,2023
-

Custom Captcha Generator in HTML CSS and JS
Letscode - October 24,2023