Create Responsive Login & Registration Form in HTML CSS
by Letscode - October 4,2023
If you are looking for user-friendly Responsive Login & Registration Form created from HTML & CSS and want to learn to make a Login & Registration Form, this blog is written for you.
In this blog, you will learn how to create a Responsive Login & Registration Form in HTML & CSS. Even if you have a basic knowledge of HTML & CSS then also you will be able to create a Sign in and signup page using basic HTML & CSS code. Recently I uploaded a blog post on Cookies Consent Box Javascript I hope it will help to boost your JavaScript skills.
A Login Form is a Section where users have to input their login details to enter a particular website or application and a Registration Form is a place where users can create their login details to get login details or to register their details for different purposes.
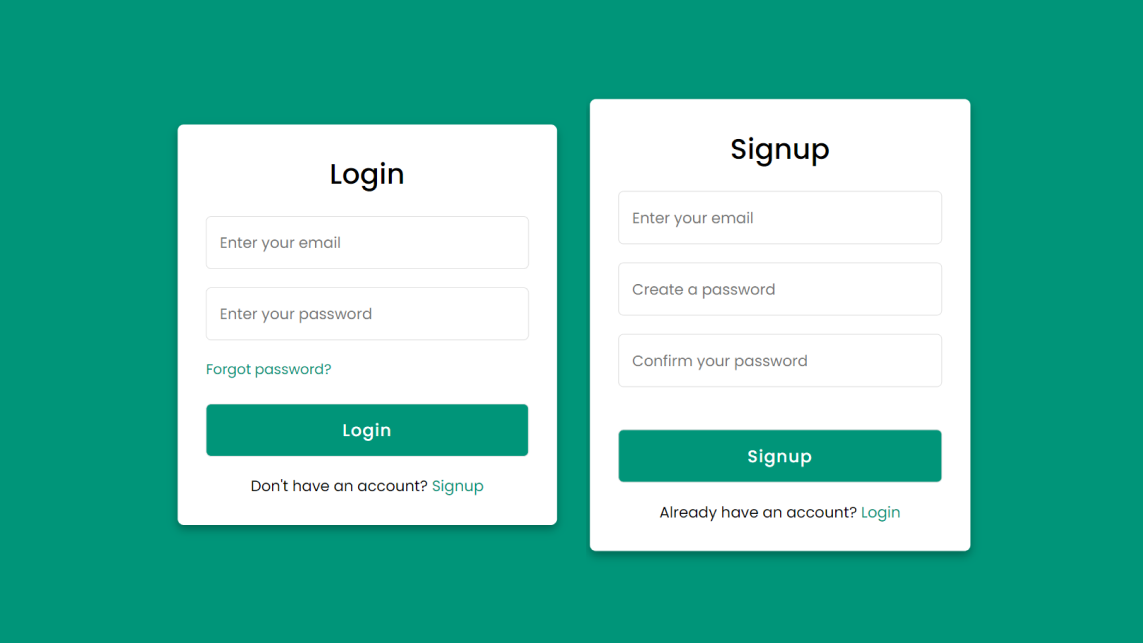
Have a look at the given preview of my Login and Registration Form. As you can see, there are two forms the left one is the Sign-in Form and the right one is the Signup Form. On these forms, there are input fields for email address and password and a button. At the bottom of these two forms, there are two links: one to create a Signup account and another to log in.
Login & Registration Form in HTML CSS [Source Codes]
To create Login & Registration Form, follow the given steps line by line:
- Create a folder. You can name this folder whatever you want, and inside this folder, create the mentioned files.
- Create an index.html file. The file name must be index and its extension .html
- Create a style.css file. The file name must be style and its extension .css
Once you create these files, paste the given codes into the specified files. If you don’t want to do these then scroll down and download the Login & Registration Form by clicking on the given download button.
First, paste the following codes into your index.html file.
<!DOCTYPE html>
<!-- Coding By LetsCodeweb -->
<html lang="en">

<head>
    <meta charset="UTF-8">
    <meta name="viewport" content="width=device-width, initial-scale=1.0">
    <meta http-equiv="X-UA-Compatible" content="ie=edge">
    <title>Login & Registration Form - LetsCodeweb</title>
    <!---Custom CSS File--->
    <link rel="stylesheet" href="style.css">
</head>

<body>
    <div class="container">
        <input type="checkbox" id="check">
        <div class="login form">
            <header>Login</header>
            <form action="#">
                <input type="text" placeholder="Enter your email">
                <input type="password" placeholder="Enter your password">
                <a href="#">Forgot password?</a>
                <input type="button" class="button" value="Login">
            </form>
            <div class="signup">
                <span class="signup">Don't have an account?
                    <label for="check">Signup</label>
                </span>
            </div>
        </div>
        <div class="registration form">
            <header>Signup</header>
            <form action="#">
                <input type="text" placeholder="Enter your email">
                <input type="password" placeholder="Create a password">
                <input type="password" placeholder="Confirm your password">
                <input type="button" class="button" value="Signup">
            </form>
            <div class="signup">
                <span class="signup">Already have an account?
                    <label for="check">Login</label>
                </span>
            </div>
        </div>
    </div>
</body>

</html>
Second, paste the following codes into your style.css file.
/* Coding by Letscode */
/* Import Google font - Poppins */
@import url('https://fonts.googleapis.com/css2?family=Poppins:wght@200;300;400;500;600;700&display=swap');

* {
    margin: 0;
    padding: 0;
    box-sizing: border-box;
    font-family: 'Poppins', sans-serif;
}

body {
    min-height: 100vh;
    width: 100%;
    background: #009579;
}

.container {
    position: absolute;
    top: 50%;
    left: 50%;
    transform: translate(-50%, -50%);
    max-width: 430px;
    width: 100%;
    background: #fff;
    border-radius: 7px;
    box-shadow: 0 5px 10px rgba(0, 0, 0, 0.3);
}

.container .registration {
    display: none;
}

#check:checked~.registration {
    display: block;
}

#check:checked~.login {
    display: none;
}

#check {
    display: none;
}

.container .form {
    padding: 2rem;
}

.form header {
    font-size: 2rem;
    font-weight: 500;
    text-align: center;
    margin-bottom: 1.5rem;
}

.form input {
    height: 60px;
    width: 100%;
    padding: 0 15px;
    font-size: 17px;
    margin-bottom: 1.3rem;
    border: 1px solid #ddd;
    border-radius: 6px;
    outline: none;
}

.form input:focus {
    box-shadow: 0 1px 0 rgba(0, 0, 0, 0.2);
}

.form a {
    font-size: 16px;
    color: #009579;
    text-decoration: none;
}

.form a:hover {
    text-decoration: underline;
}

.form input.button {
    color: #fff;
    background: #009579;
    font-size: 1.2rem;
    font-weight: 500;
    letter-spacing: 1px;
    margin-top: 1.7rem;
    cursor: pointer;
    transition: 0.4s;
}

.form input.button:hover {
    background: #006653;
}

.signup {
    font-size: 17px;
    text-align: center;
}

.signup label {
    color: #009579;
    cursor: pointer;
}

.signup label:hover {
    text-decoration: underline;
}
That’s all, now you’ve successfully created a project on Login & Registration Form. If your code doesn’t work or you’ve faced any problems, please download the source code files from the given download button. It’s free and a zip file containing the project folder with source code files will be downloaded.

Most Popular


Recent Posts
-

Image Slider in HTML CSS and JavaScript
Letscode - October 4,2023
-

Facebook Login Page Using HTML & CSS
Letscode - October 10,2023
-

Amazon Website clone in HTML & CSS
Letscode - November 4,2023
-

Custom Captcha Generator in HTML CSS and JS
Letscode - October 24,2023